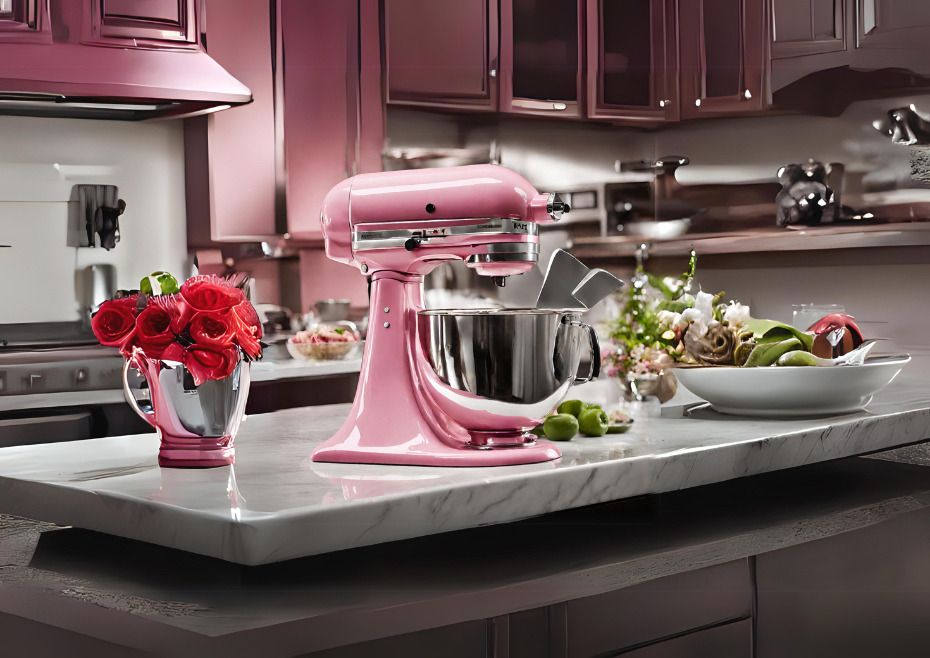
Are you ready to elevate your baking game or simplify meal prep in the kitchen? If so, investing in a kitchen mixer can be a game-changer. Whether you're a seasoned home chef or just getting started, selecting the right mixer can make a significant difference in your culinary adventures. In this guide, we'll walk you through the essential considerations to help you choose the perfect kitchen mixer tailored to your needs.

Assess Your Kitchen Needs
Before diving into the world of kitchen mixers, it's crucial to assess your specific needs. Here are some key factors to consider:
- Usage Frequency: Determine how often you'll be using the mixer. If you're an occasional baker, a hand mixer might suffice. However, if you bake frequently or have a large family to cook for, a stand mixer might be a better choice due to its versatility and power.
- Mixing Tasks: Consider the variety of tasks you'll perform with the mixer. Do you primarily need it for baking tasks like whipping cream or kneading dough, or do you also plan to use it for savory recipes like meat grinding or pasta making?
- Kitchen Space: Evaluate the available space in your kitchen. Stand mixers can be substantial and may require a dedicated spot on your countertop. If space is limited, a compact hand mixer might be more practical.
- Budget: Set a budget that aligns with your needs and preferences. Kitchen mixers come in a wide range of prices, so having a budget in mind can help narrow down your options.
Understanding Mixer Types
Kitchen mixers come in various types, each designed to excel in specific tasks. Here are the main types to consider:
- Hand Mixers: These compact and affordable mixers are ideal for light tasks like whipping cream, mixing batters, and blending ingredients. They're convenient for occasional use and easy to store.
- Stand Mixers: Stand mixers are the workhorses of the kitchen. They're powerful, versatile, and equipped with various attachments for tasks such as mixing, kneading, whisking, and more. Stand mixers are perfect for serious bakers and home chefs.
- Immersion Blenders: While not traditional mixers, immersion blenders are versatile tools that can handle blending, pureeing, and even some mixing tasks. They are especially handy for soups and sauces.
Additional Features to Consider
When choosing a kitchen mixer, look for additional features that can enhance your cooking and baking experience:
- Speed Settings: Mixers with multiple speed settings allow you to adjust the mixing intensity to match your specific recipe requirements.
- Attachments: Check if the mixer comes with a variety of attachments, such as dough hooks, wire whisks, and paddle beaters. These attachments expand the mixer's capabilities.
- Bowl Size: For stand mixers, consider the size of the mixing bowl. A larger bowl can accommodate more substantial batches.
- Motor Power: A more powerful motor can handle heavy-duty tasks more efficiently.
Now that you have a better understanding of how to choose the right kitchen mixer, you're one step closer to enhancing your culinary adventures. Whether you opt for a hand mixer, stand mixer, or immersion blender, the key is to find a mixer that suits your needs and budget.

Bonus Recipe: Decadent Chocolate Cake
Ingredients:
- 1 3/4 cups all-purpose flour
- 1 1/2 cups granulated sugar
- 3/4 cup unsweetened cocoa powder
- 1 1/2 tsp baking powder
- 1 1/2 tsp baking soda
- 1 tsp salt
- 2 eggs
- 1 cup buttermilk
- 1/2 cup vegetable oil
- 2 tsp pure vanilla extract
- 1 cup boiling water
Instructions:
- Preheat your oven to 350°F (175°C). Grease and flour two 9-inch round cake pans.
- In a large mixing bowl, sift together the flour, sugar, cocoa powder, baking powder, baking soda, and salt.
- Add the eggs, buttermilk, vegetable oil, and vanilla extract to the dry ingredients. Mix on medium speed for 2 minutes until well combined.
- Stir in the boiling water until the batter is smooth. The batter will be thin, but that's okay.
- Pour the batter evenly into the prepared pans.
- Bake in the preheated oven for 30 to 35 minutes or until a toothpick inserted into the center comes out clean.
- Allow the cakes to cool in the pans for 10 minutes, then remove them from the pans and transfer them to a wire rack to cool completely.
- Once the cakes are cool, you can frost and decorate them as desired. Enjoy your homemade chocolate cake!
Now that you're equipped with the knowledge to choose the perfect kitchen mixer and a delicious recipe to try, it's time to embark on your culinary journey. Happy mixing and baking!


